
And I love it. It’s amazing. I sound like I’ve been converted. But it’s really relief.
You know that thing you’ve been putting off, seemingly forever, and feeling badly about? That was cob for me.
Though it’s been winter and rainy, I could have started making cob a lot sooner. It seemed easy. But I wasn’t ready, psychologically. I wasn’t quite sure it would work. There are no real measurements.
Given our short timeline, though (3 more months!) I had to get going.
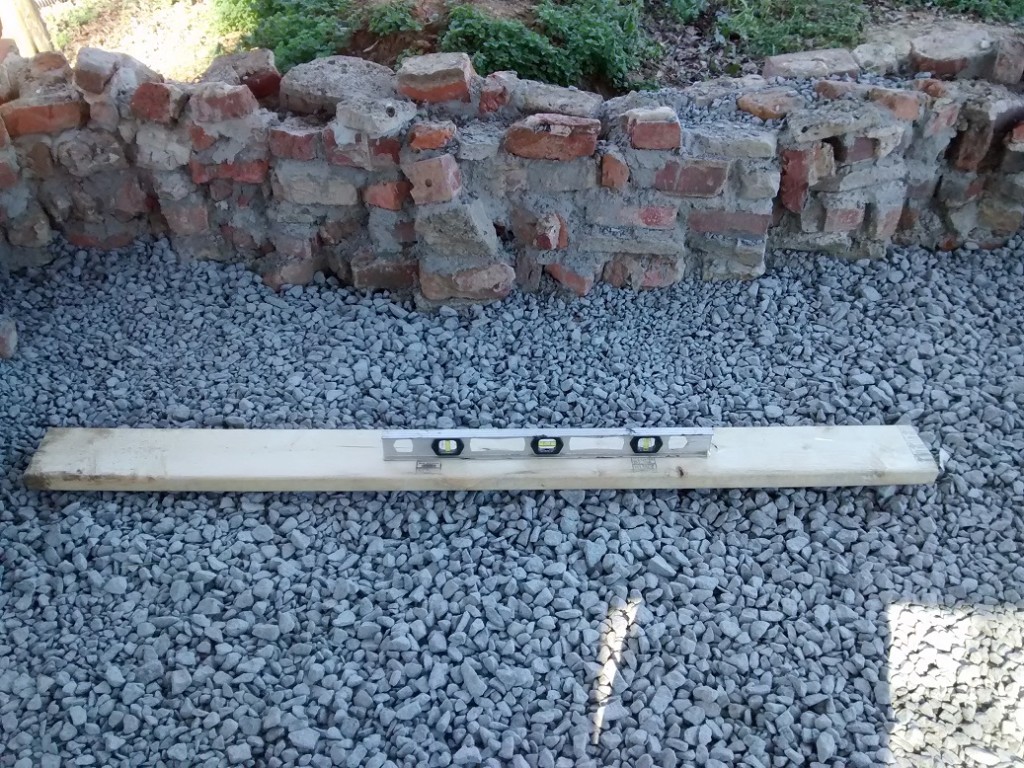
Before starting on the cob, we added about 6″ of drainage gravel to the floor (after compacting) to start the eventual cob floor. I checked the levels to ensure it was even.
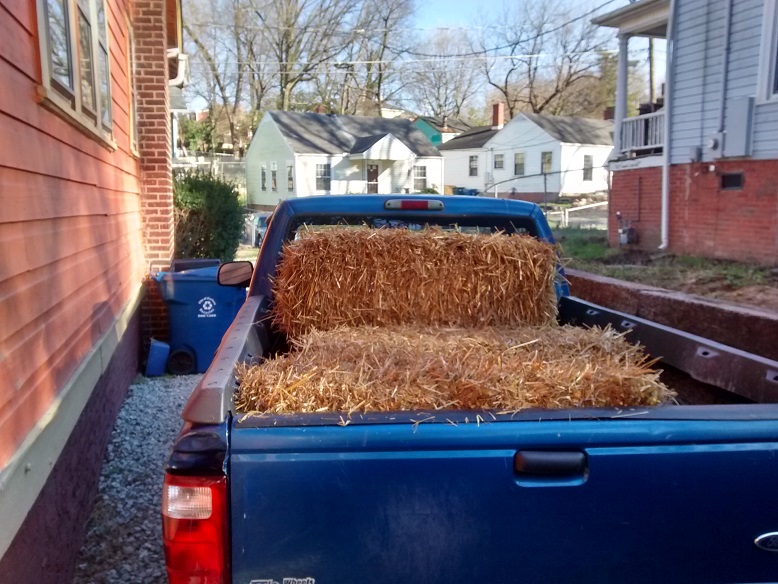
Rob borrowed our neighbor Harris’ truck and picked up some straw at Stone Bros, which will be used to mix into the cob. Though it’s a bit more spendy than other places ($4.50 a bale) it’ll go a long way (and we didn’t have to since they are right down the street!).
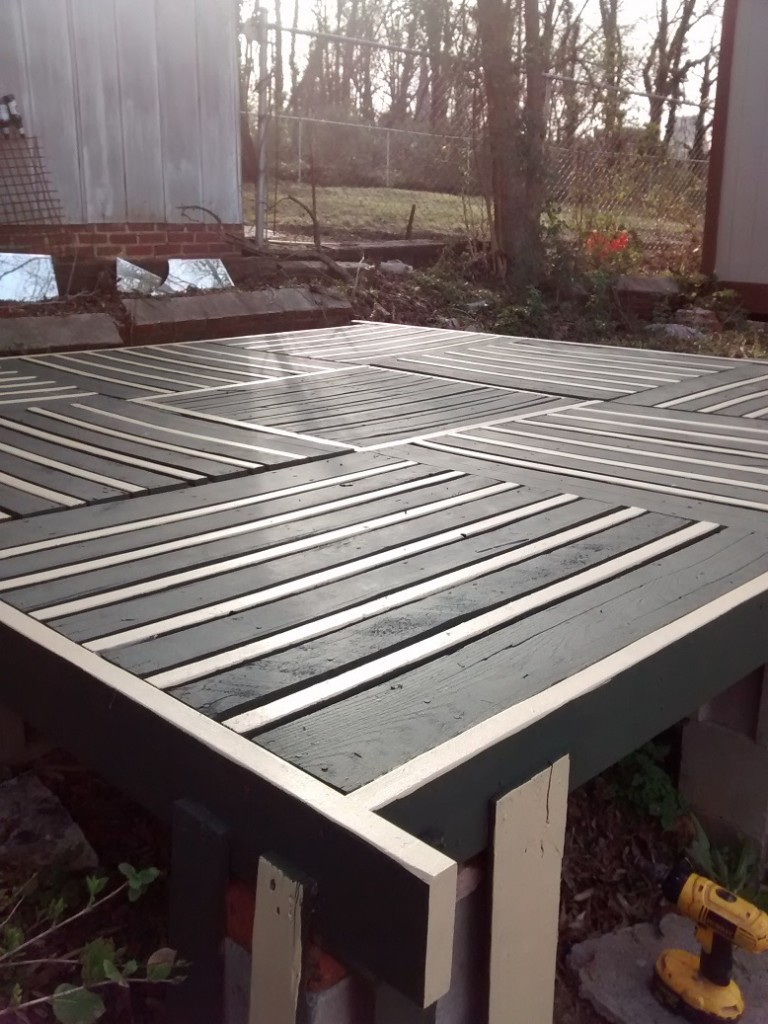
In the meantime, Rob painted his pallet deck and it came out pretty.
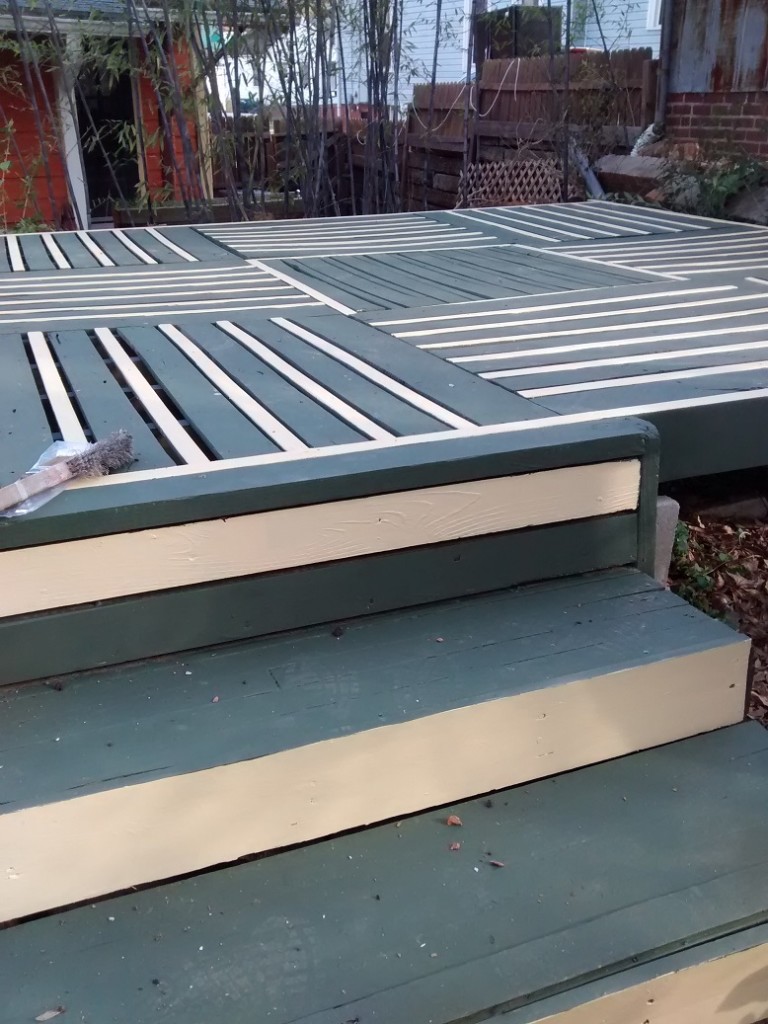
More deck.
On the recommendation of Matthew, I went to Adams Products in Durham to pick up some mortar sand. They were so kind to let me have two buckets for free, which have lasted for several batches of cob.
Ideally, you use river sand, but I’m not about to go steal sand from the Eno, so I was told by the excellent cobber Greg from the Mud Dauber School of Natural Building that mortar sand should work just as fine since it’s more angular than, say, play sand (which is round). Makes sense as sandboxes should be kinda safe and smooth.
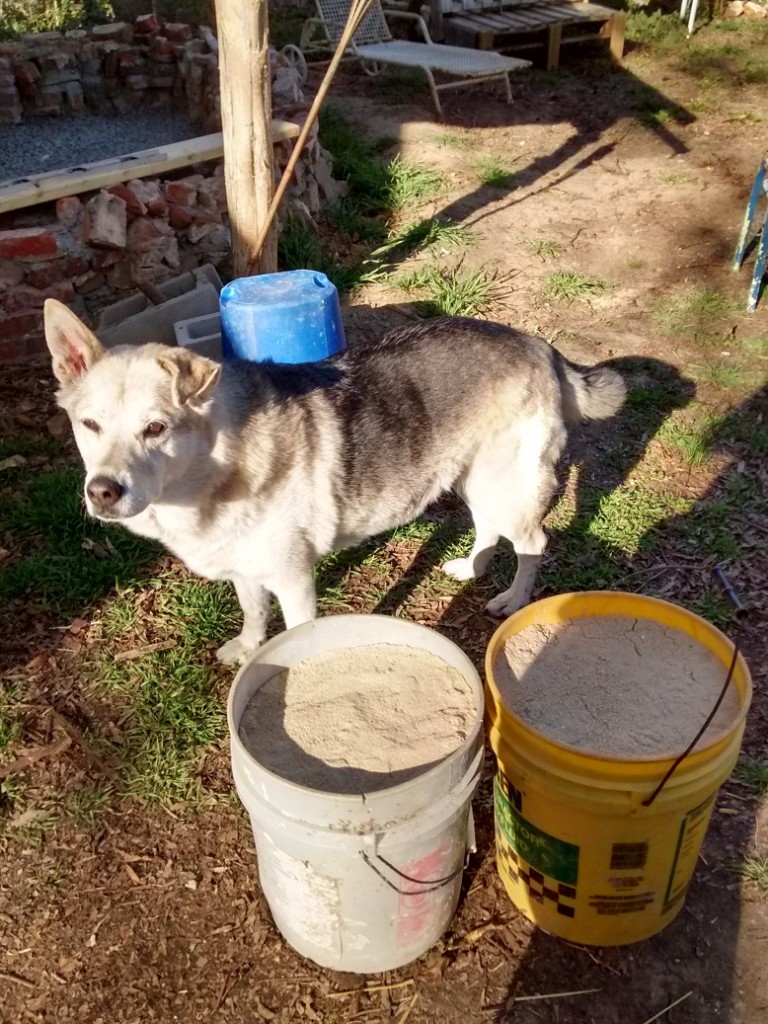
Syba really liked standing next to the sand.
It was hard, but I went out to finally start attempting cob. Here we have the first chunks of mostly clay that I laid out on the tarp.
Again, there is not really a recipe, which is why it is a little intimidating to do on your own. My book says roughly 50-85% sand, 50%-15% clay, and straw/water to taste.
The author said it’s in our DNA and we know how to make it right. Like cookie dough. I love cookies and went with that.
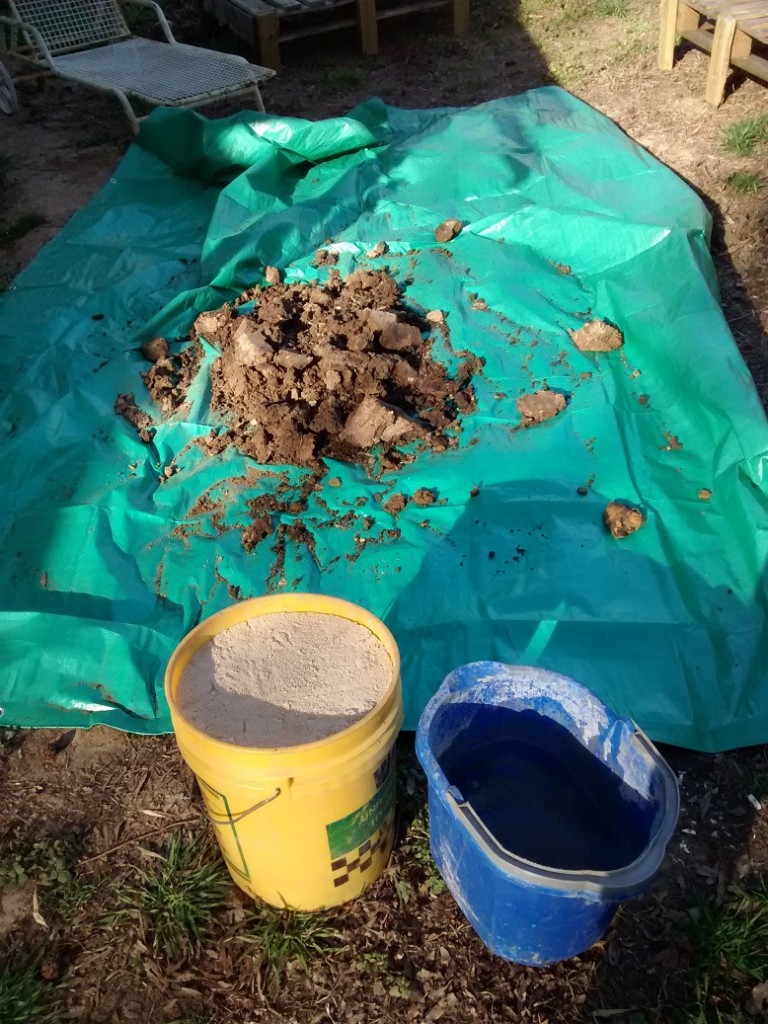
After about 5 batches, I now have a formula. After digging out clay (and removing as many rocks/worms as possible) I place it on a tarp. When a small pile is ready, I sprinkle with water, cover and let it soak (to help break it up).
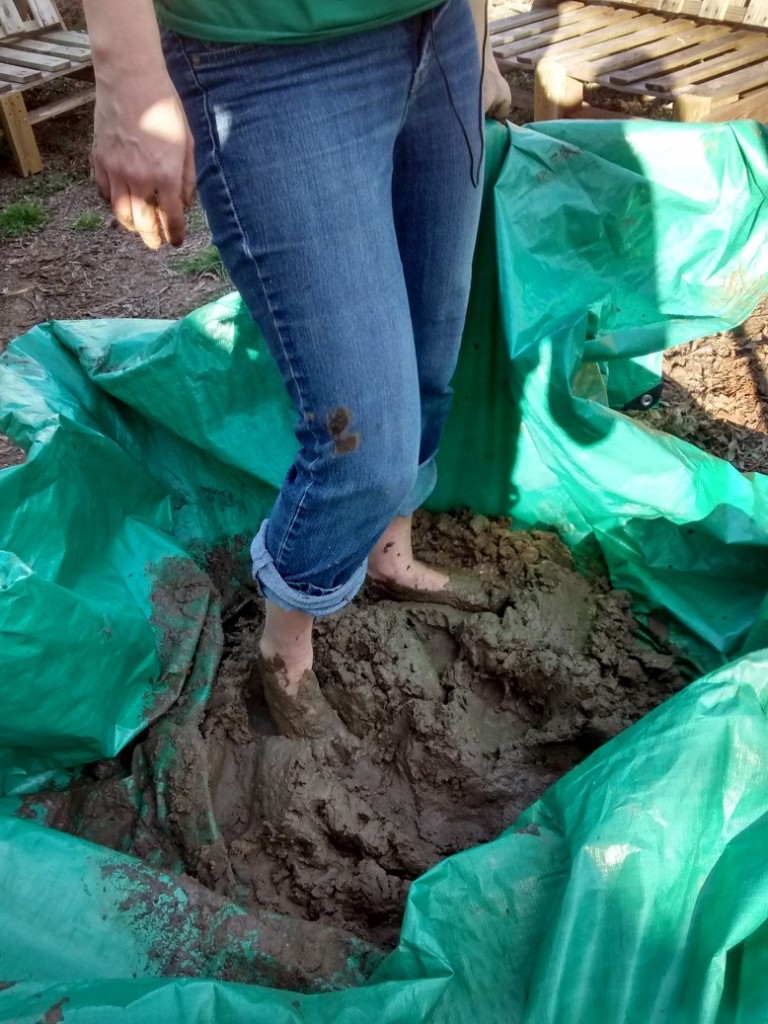
Then, I begin stomping — it feels very weird at first, as you might imagine, stepping in mud — but you start to see the consistency change as you keep going. Protip: listen to your favorite podcasts while doing this activity.
Once I hammer out the clay (lots of heel here), I add the sand on top, roughly the same amount as clay, and mix that in.
It’s really amazing that after about 40 minutes it does start to get like chocolate chip cookie dough.
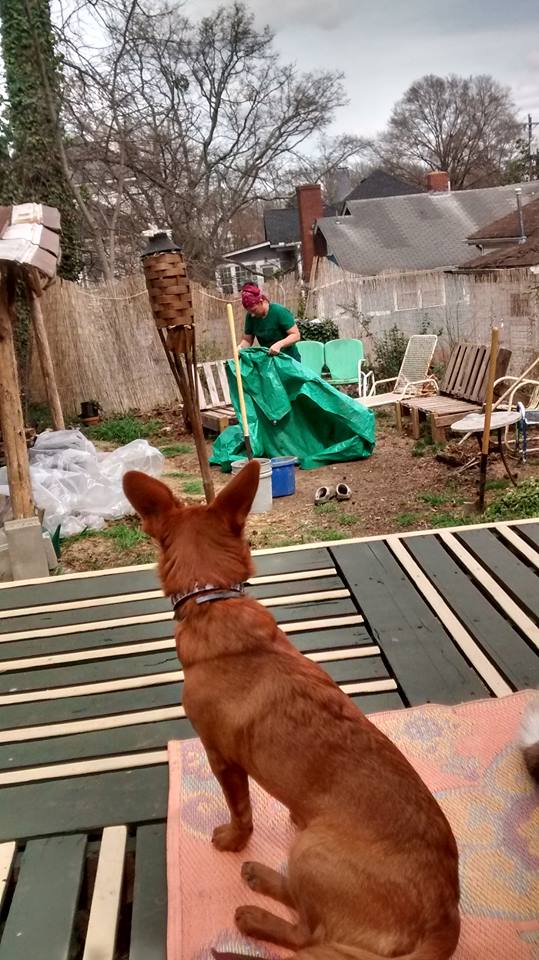
I pick up and carry the tarp on each side making it into a roll, stomping more, then repeating, as Rob captures here (and the sweet Jelly observes).
Next, I flatten out my cob dough and add straw on top. After I work it in, I repeat this once more with another light coating of straw.
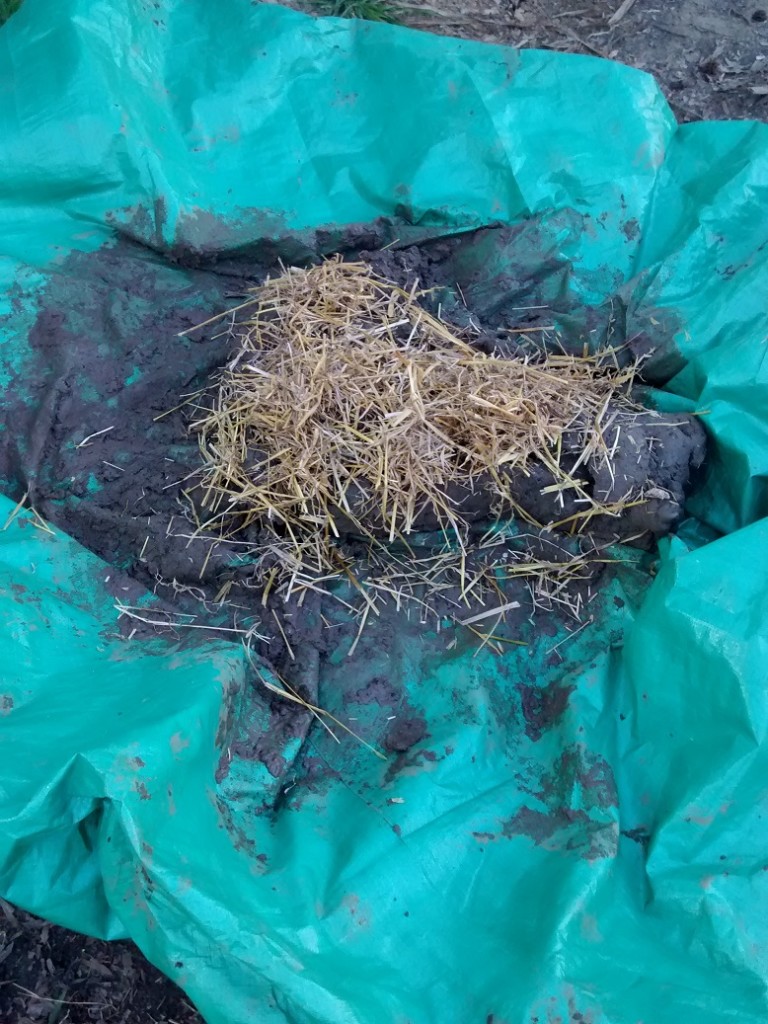
Then, ouila, you have your cob roll camouflaged as a poop log.
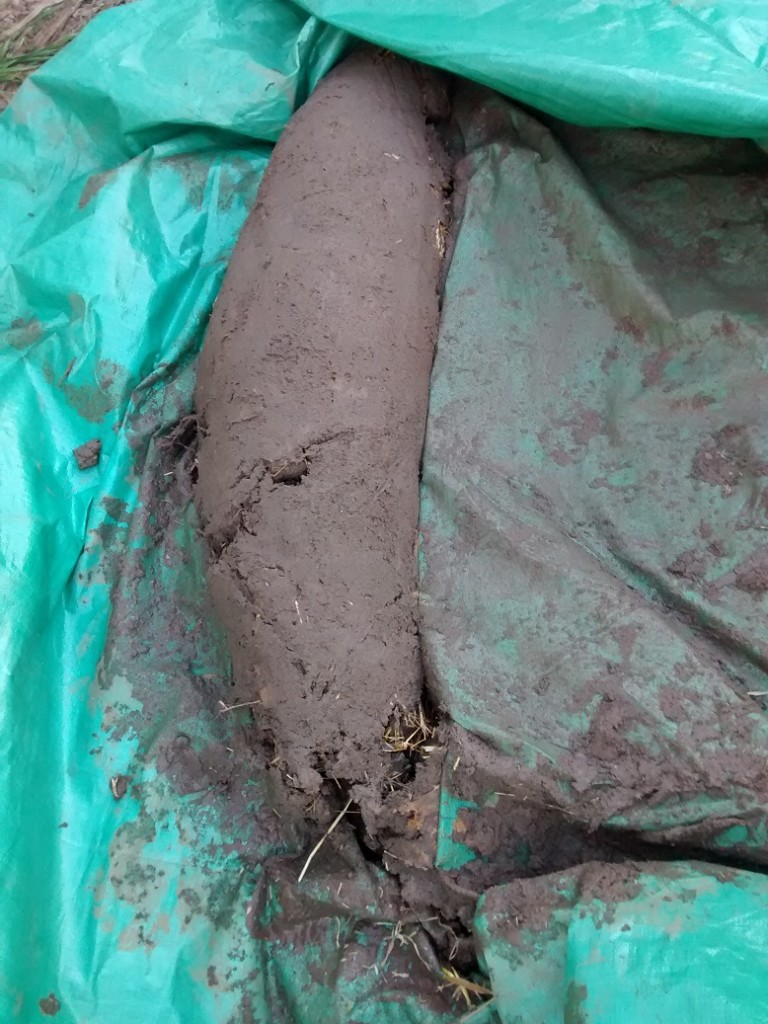
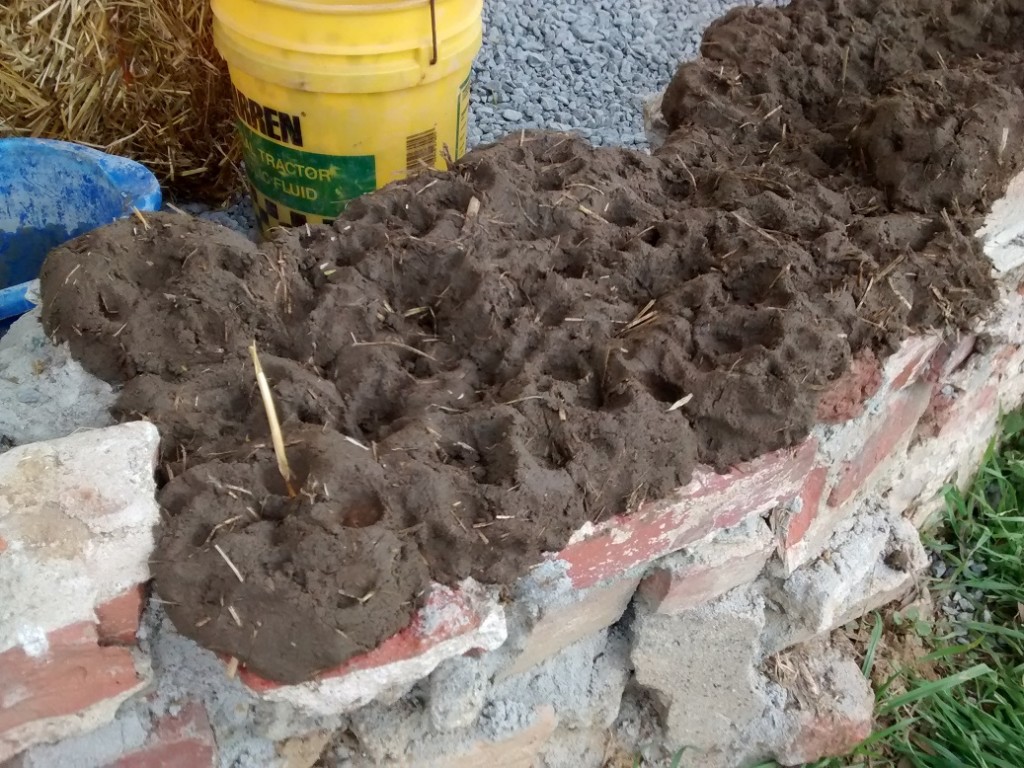
To place the cob, I tore off bread-roll sized chunks, patted the round ball together (like dough) and stuck right on the wall. I made finger/thumb keyholes to attach future cob (and hold water to re-moisten if dries out).
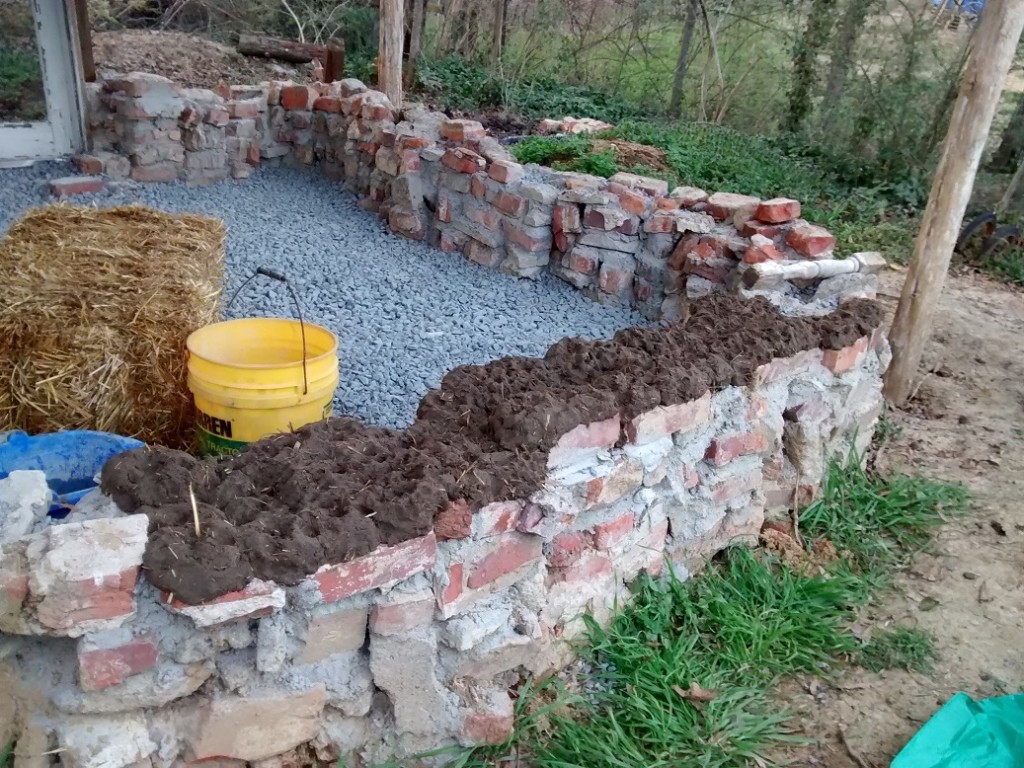
This is how it appears up close.
It really does harden up like rock — amazing resilience.
It’s going to be awhile. But we’re adding windows so that means I don’t have to cob all the way up the wall.
After cobbing each day, you cover it with plastic or “put it to bed,” as the author instructed. This keeps it from drying too fast, theoretically allowing it to attach to the next layer (that is, if you’re not going as slow as I am given that I’m just two feet).
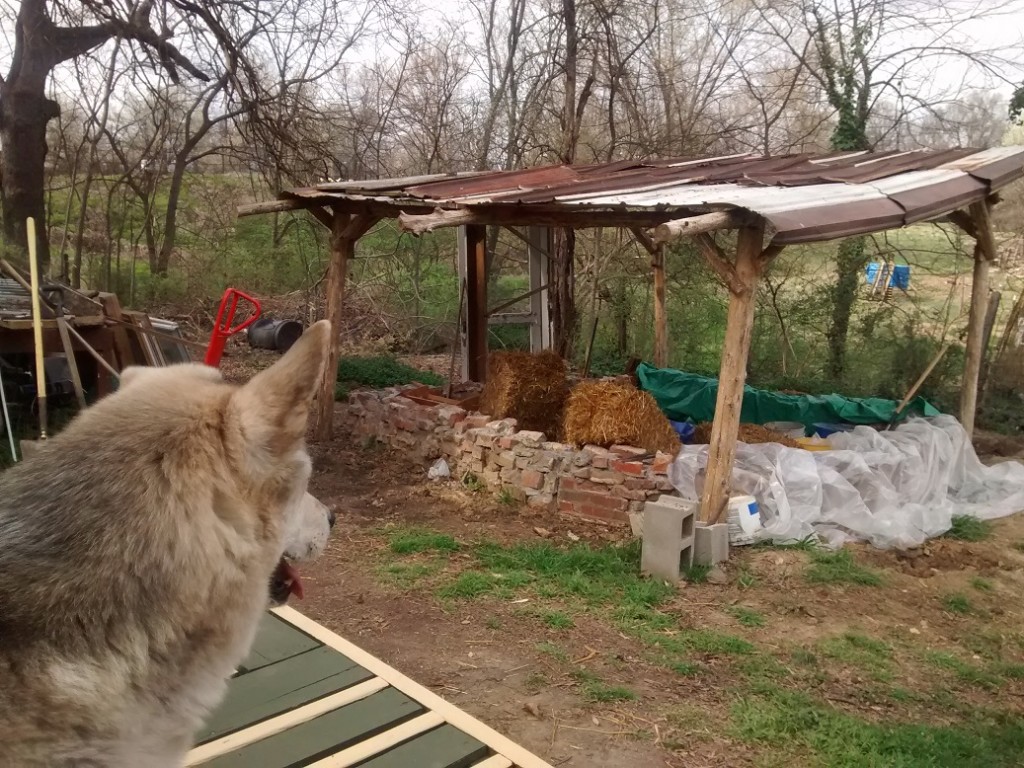
Syba’s not sure what to make of this experiment, but she observed the sleeping walls from the pallet deck, and sat outside the wall while I cobbed earlier and watched.
Next up: continue to cob!
Total costs to date
| Week | Cob item | Cob cost |
| 1 | Used decorative door piece, wooden dish rack | $2 |
| 3 | Extra 4″ drainage pipe | $6 |
| 4 | Gravel | $55 |
| 4 | Portland Cement | $16 |
| 4 | Sand | $15 |
| 5 | More sand | $15 |
| 5 | 4 glass block windows (from Scrap Exchange) |
$2 |
| 5 | Psyllium husk for floor (with shipping) |
$25 |
| 7 | More sand | $15 |
| 7 | More cement | $10 |
| 7 | Gravel (floor) | $40 |
| 7 | Tarp | $4 |
| 7 | Straw | $29 |
| 7 | Mortar sand, cedar posts, shed roofing | FREE! |
| TOTAL | $234 |
